The long-awaited date of the oxygen therapy training is approaching, after which your salon can expand with a new service. Please read the following page to be up-to-date with the most important information.
One-time bank transfer completed by the application deadline.
With the new online training framework, it is necessary to pay for the starter package via bank transfer by the application deadline.
Following this, you will be able to register on our training platform, where you can access our training materials and where you will be able to master the process, products, philosophy, etc., of oxygen therapy through our online video tutorials. Please note that as a trichologist, if you wish to have a trolley or, in the case of a cosmetic starter package, a microcamera or trolley, these are not included in the starter package. Therefore, if you would like to purchase such additional products, please notify us in advance.
You have not been able to acquire the oxygen tank and regulator yet?
First and foremost, it’s worth inquiring with our partners to see if they deliver to the specific area.
Email: palackrendeles@gmail.com
Phone number: 06-30-460-35-75
If our partner does not deliver to your location, then contact Linde or Messer Hungarian Gas companies to inquire about their offers.
Request a quote for the purest industrial oxygen plus an additional regulator.
The oxygen tank we use in our salons is:
20 liters, 200 bars, 4 m3
The purity level of the oxygen is: 2.5 (purest industrial oxygen)
A 20-liter oxygen tank similar to ours is typically sufficient for approximately 100-150 treatments.
It’s crucial to pay close attention to storage. It should not be placed in a warm or excessively cold environment, and it should not be at risk of tipping over or being knocked over.
The best solution is to have a secure location in the salon where it remains stationary, or placed in a rolling cart like our branded oxygen tank holder.
With this cart, you can easily move the tank around the salon without risking damage. It provides a secure spot, with its sturdy sides protecting it from light and heat.
Another important aspect is to ensure that your hands are dry and clean when handling the regulator; avoid touching it with wet or oily hands.
Always securely close the oxygen tank after each treatment!
Using an open flame near the tank or in its vicinity is strictly prohibited!
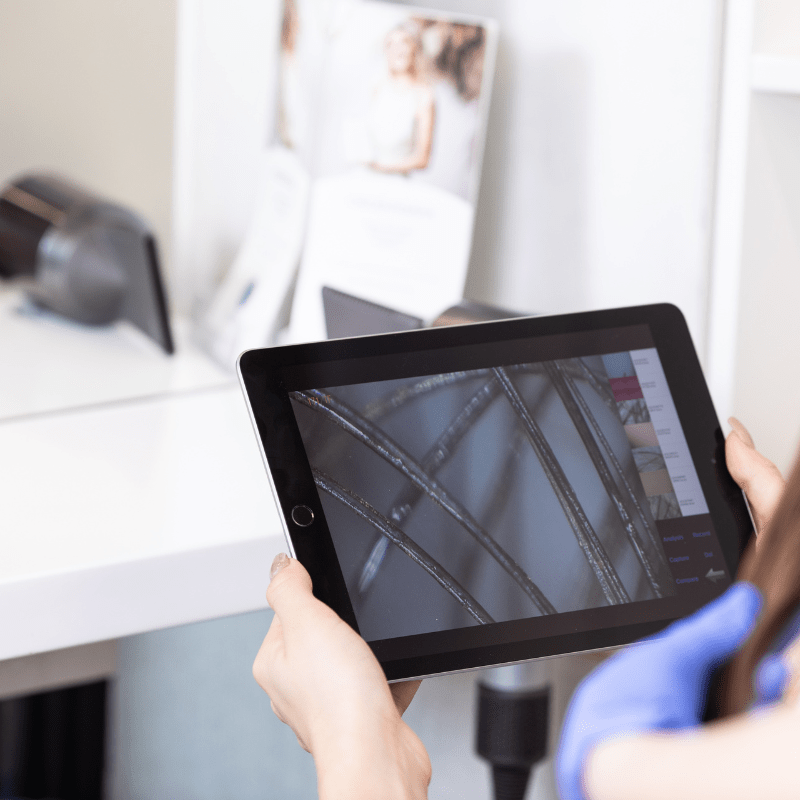
Download the application for the micro camera, KMN-666 KAMANAI. If this app does not work, then you should download CF685A.
Turn on the camera using the middle power/photo button. Connect to the camera via Wi-Fi. You will see a combination of letters and numbers, each camera has a unique set, such as mlg–m1890215. The connection password is 88888888 for every camera. Afterward, enter the downloaded application.

Marketing materials, Facebook ads, Ordering guide, Oxygeni Life guide
We hope you were satisfied with our training and received answers to all your important questions.
After the theoretical and practical training, you have 8 weeks to prepare, practice, and take the introductory exam for the service. Once you pass this exam, we will issue the certificate, and from then on, you can officially perform the treatments.
To be listed on the website, we need an introductory text and a high-quality photo of you.
After passing the exam, you have 8 weeks to introduce the service in your salon, so you can start performing the therapy.
Following the signing of the contract, partners have 10 weeks to review the instructional videos (theoretical and practical training, product knowledge training), study the necessary materials, and then take the service introductory exam.
Upon successful completion of the introductory exam, we will issue the certificate, allowing you to officially start performing the treatments.
Introductory Text and Image
First and foremost, as mentioned during the training, we’d like to ask you for an introductory text and a high-quality photo of yourself. If possible, the background of the photo should be neutral and single-colored, and ideally, no other brand’s products should be visible.
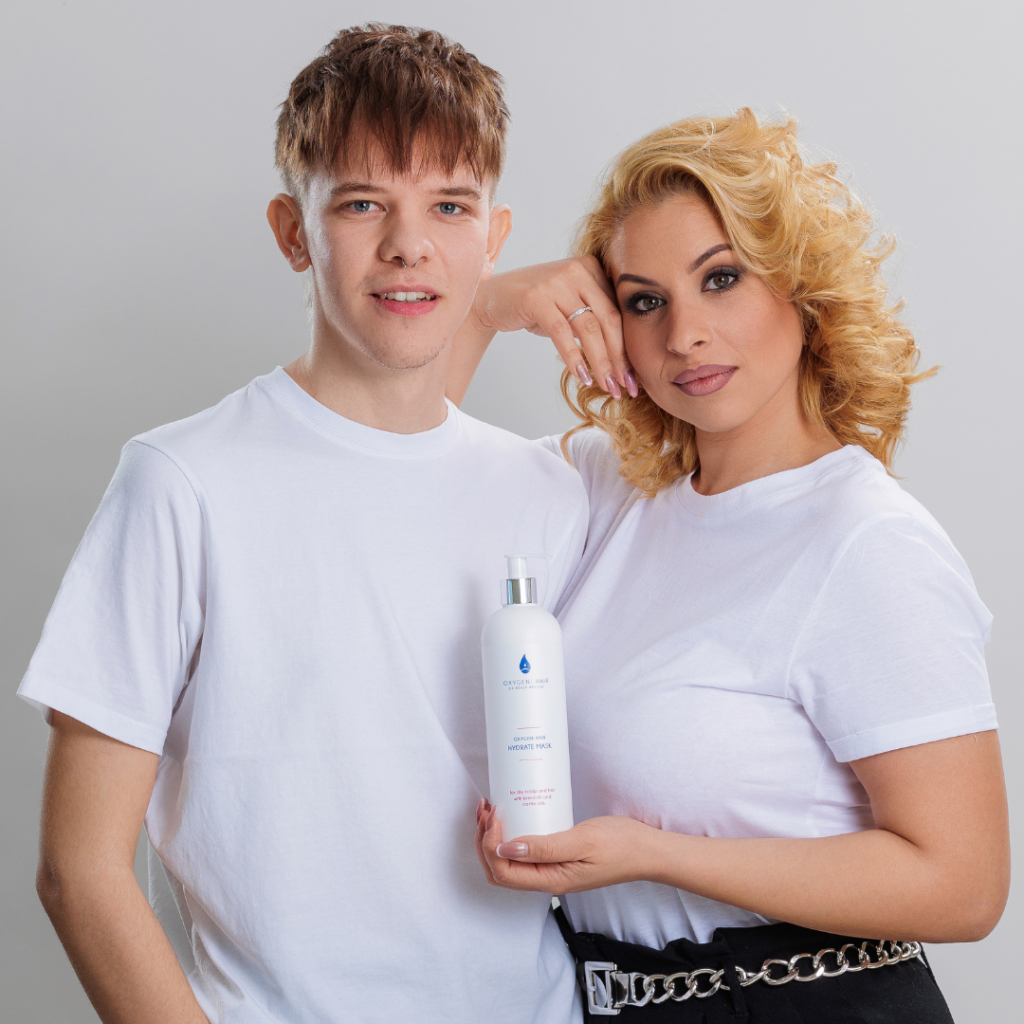
When your starter kit arrives, you can also send us a photo of you with a selected product.
Facebook Ads
You have the option to have us run Facebook ads for you, so you don’t have to deal with them yourself. For this, we need good before-and-after photos or other images that we can use for the ads.
We’ll create the ads for you free of charge; you only need to pay for the desired advertising budget. We suggest a weekly budget of 5000 HUF, or a monthly budget of 20,000 HUF. This way, we can optimize the ads to reach as many guests as possible.
If you’re interested, please email us at info@oxygenihair.com.
Usable Brand Materials and Images
We mentioned that on our partner website, you can find marketing materials, sample posts, and images that you can use on your social media platforms to promote the service. Here, you’ll also find before-and-after photos that you can use until you have your own photo material of the therapy.
Mini Website
You have the opportunity to have a mini website featured within oxygenihair.com as a highlighted salon. You can check out a mini website here.
Mini websites receive special attention, are more informative, and detailed, thus instilling greater confidence in our featured partners.
To create this, we’ll need high-quality photos of the salon, staff, introductory text, and image (minimum of 5-8 high-quality before-and-after photos, although this is not mandatory, and we can upload them later as they become available). The one-time fee for the mini website is a gross 200,000 HUF, which includes regular maintenance, updates, and uploading new images.
As mentioned, on our partner website, you can find marketing materials, sample posts, and images that you can use on your social media platforms to promote the service. Here, you’ll also find before-and-after photos that you can use until you have your own photo material of the therapy.
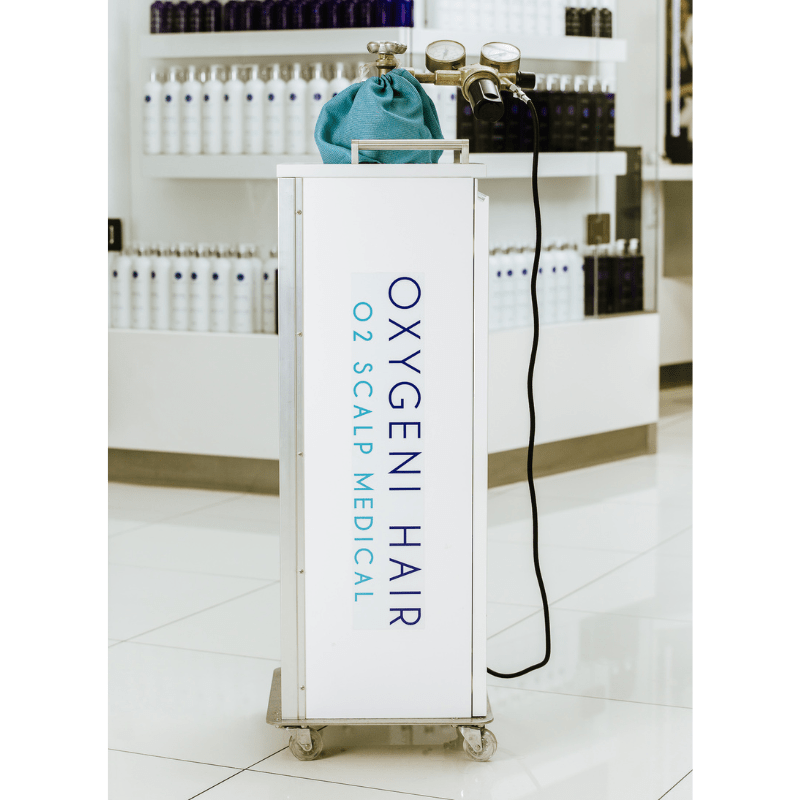
Easily maneuverable, logoed oxygen tank holder cart. It helps you move the oxygen tank effortlessly around the salon and gives a nice and tidy appearance to the tank.
Unfortunately, we cannot ship the tank with a courier company because it always gets broken on the way due to how the couriers handle the products. Therefore, the product can only be picked up in person at our warehouse in Törökbálint.
Price of the tank holder cart: 165,100 HUF
To place an order, please send us an email to info@oxygenihair.com, and we can arrange a specific time for personal pickup.
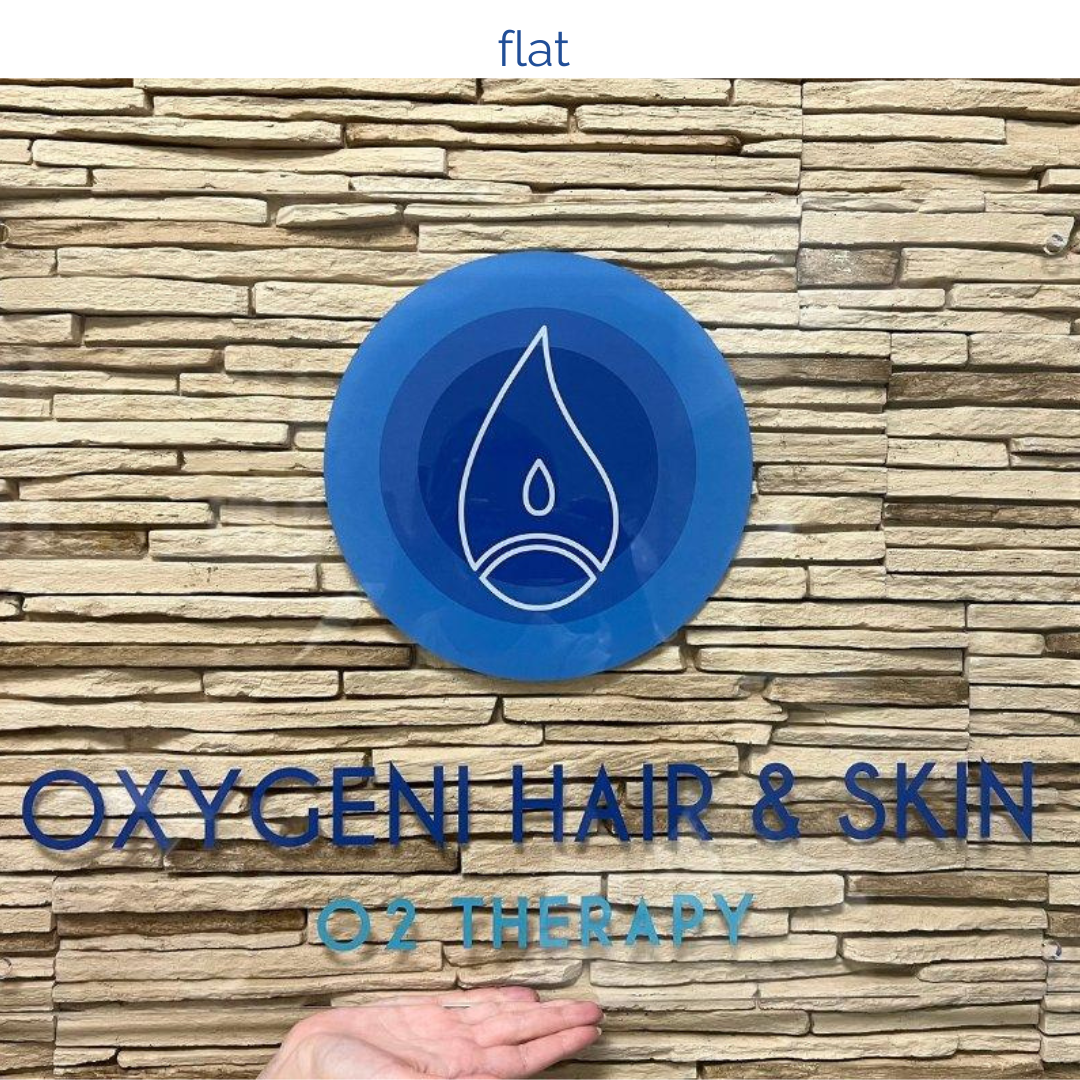
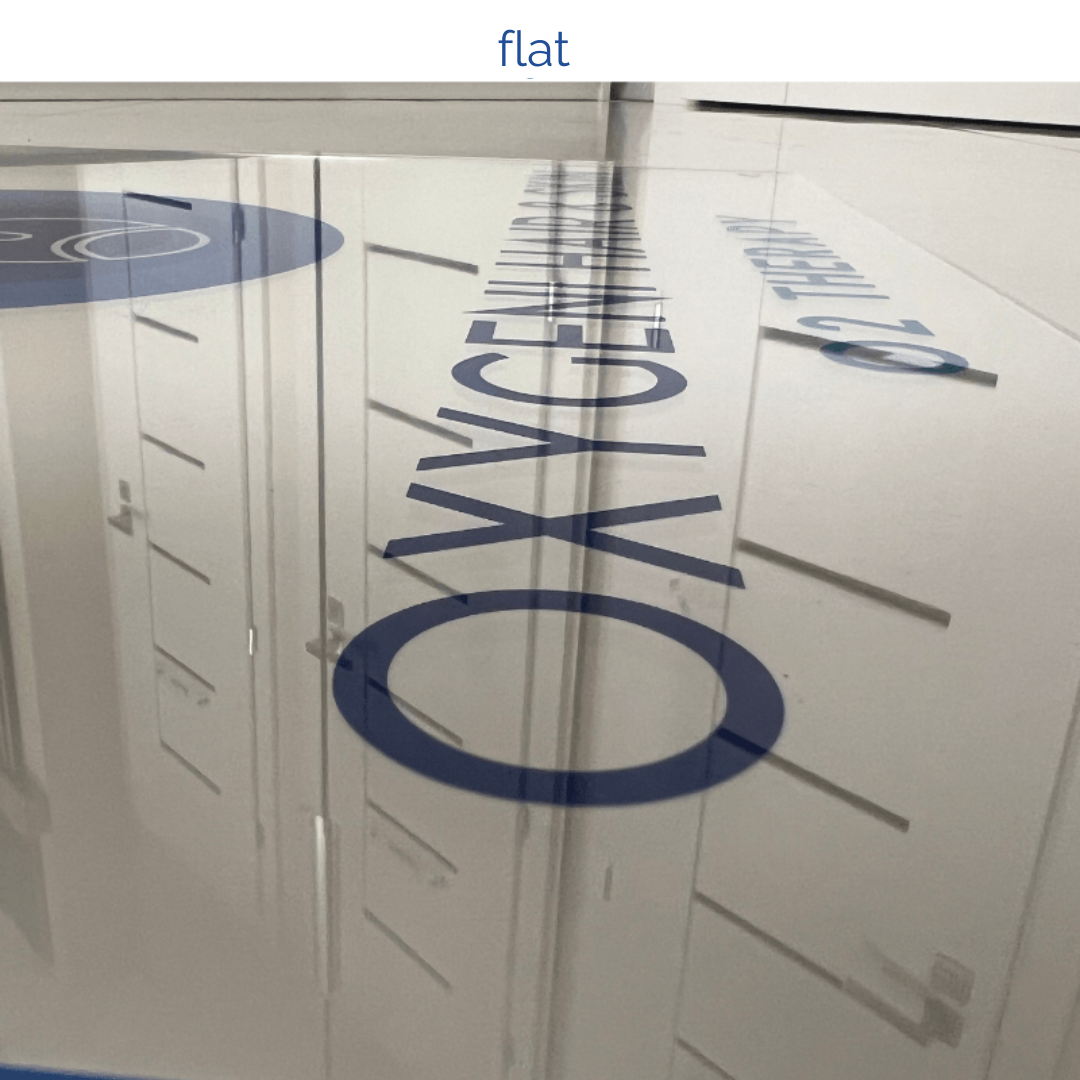
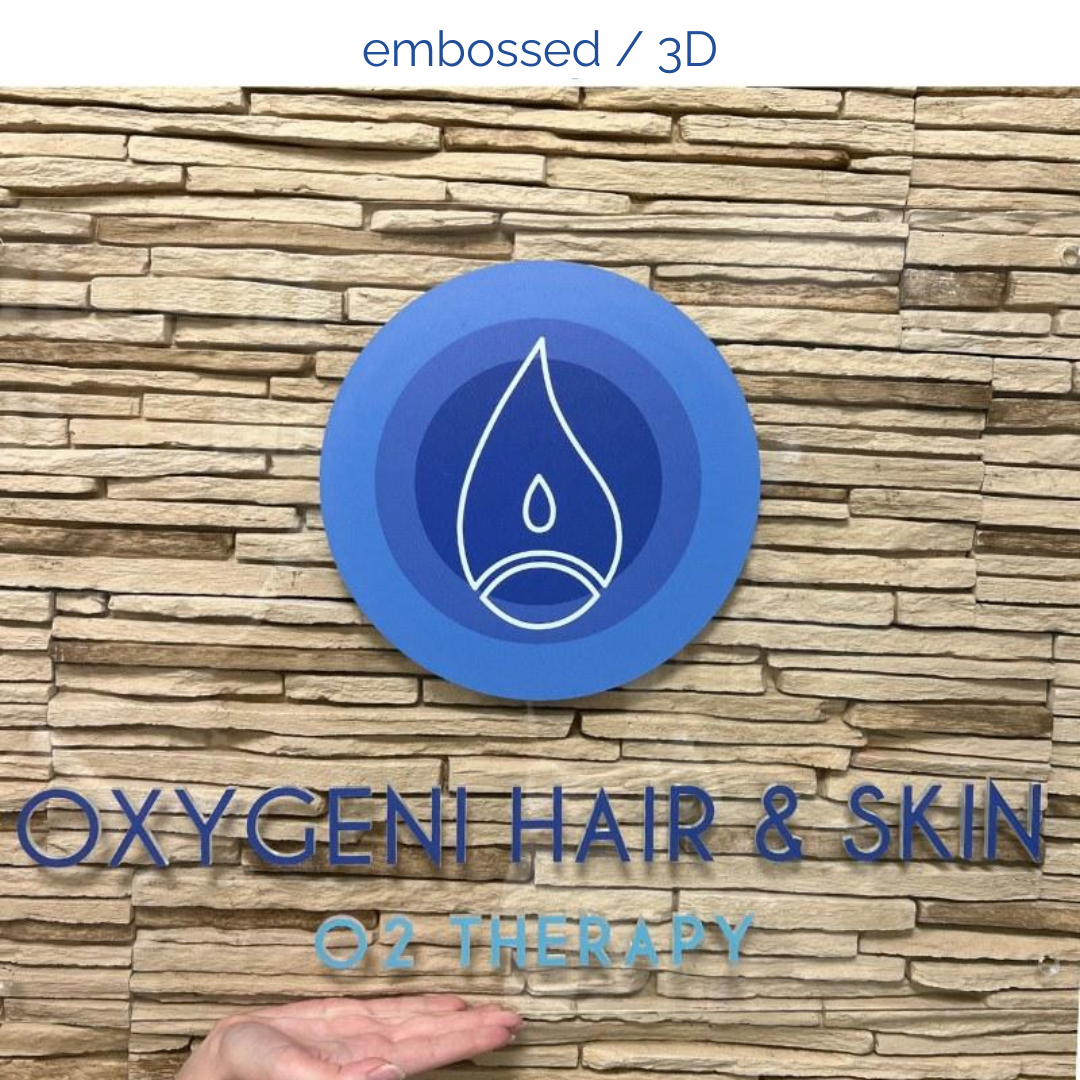
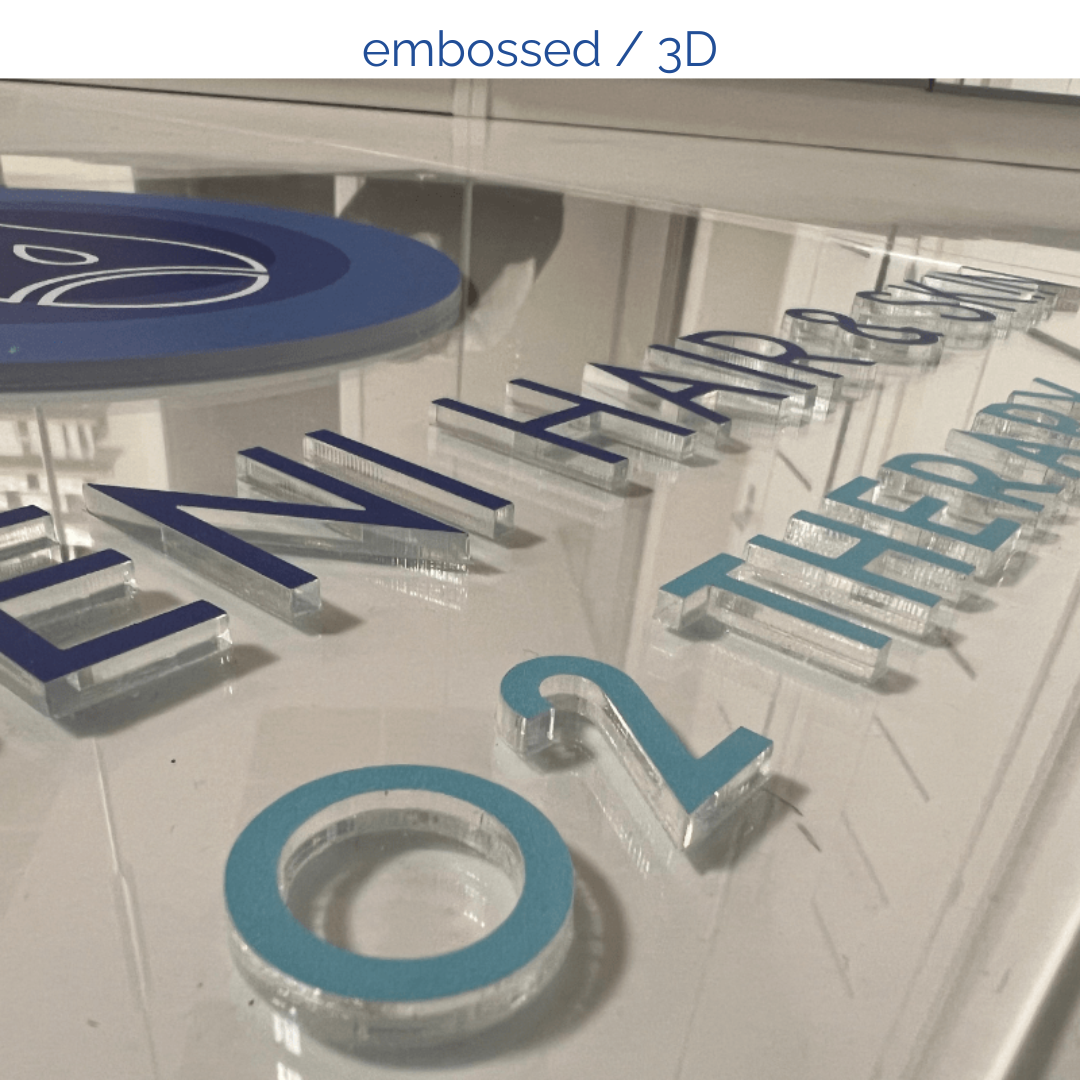
Applying the sticker is very simple; it can be easily attached to any glass surface in the salon. You can request both exterior and interior adhesive versions. (We recommend the interior adhesive version to prevent tampering and protect against weather damage.)
The stickers are available with three inscriptions:
Oxygeni Hair: 76×60 cm (width x height)
Oxygeni Skin: 76×60 cm (width x height)
Oxygeni Hair & Skin: 86×60 cm (width x height)
Price of the sticker: 15,000 HUF

Easily maneuverable, logoed oxygen tank holder cart. It helps you move the oxygen tank effortlessly around the salon and gives a nice and tidy appearance to the tank.
Unfortunately, we cannot ship the tank with a courier company because it always gets broken on the way due to how the couriers handle the products. Therefore, the product can only be picked up in person at our warehouse in Törökbálint.
Price of the tank holder cart: 165,100 HUF
To place an order, please send us an email to info@oxygenihair.com, and we can arrange a specific time for personal pickup.
On this website, choose the “Partner Webshop” option from the menu. Select the product, packaging size, and quantity, then add it to your cart.
You’ll be able to place orders on this website and find instructional materials, ebooks, videos, discounts, and other important information here.
very guest must be registered in the Oxygeni Life program. Here, the guest accepts the consent form, and you can track the progress of the treatment, recommended products, and before-and-after pictures.
After registration, the system will also email the guest their information.
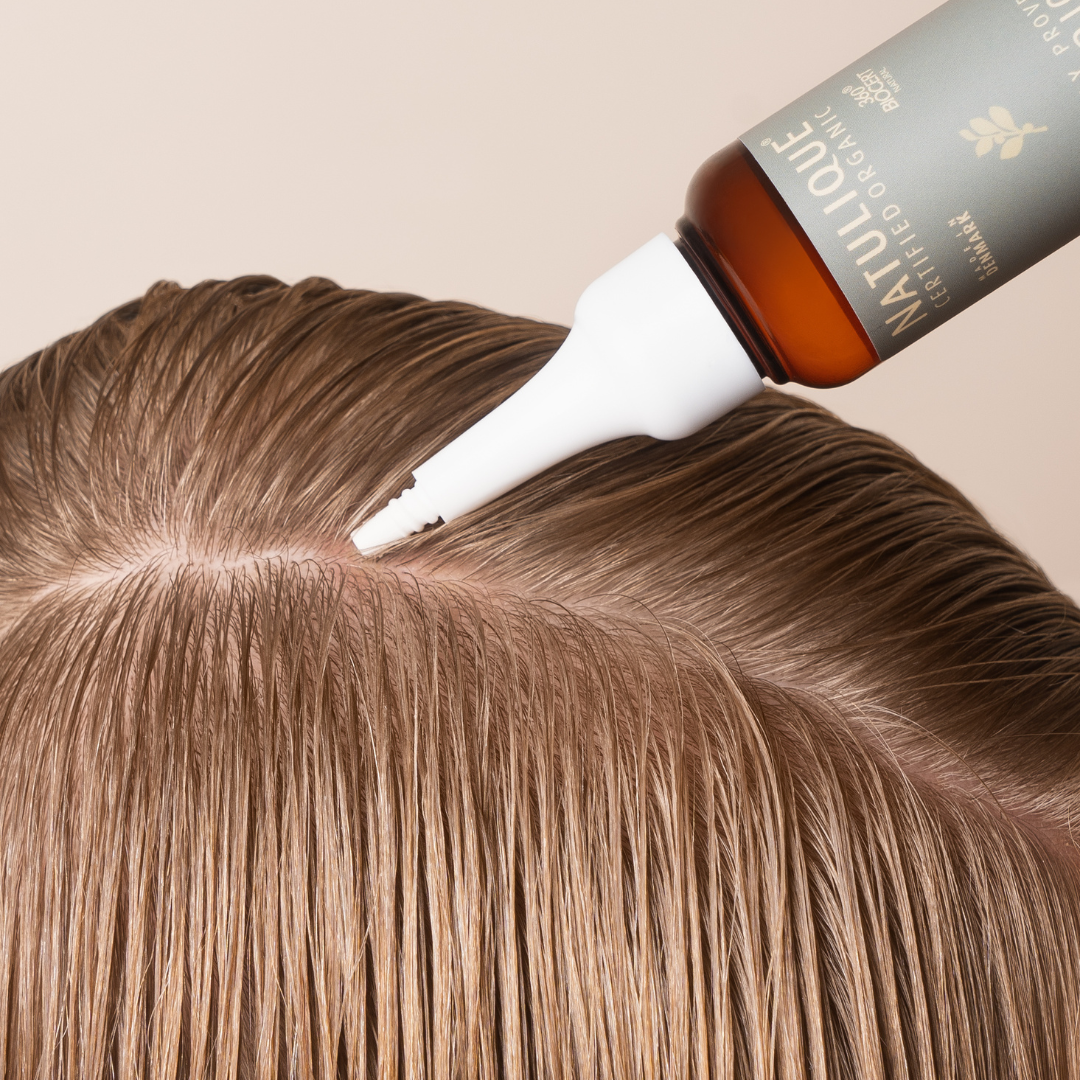
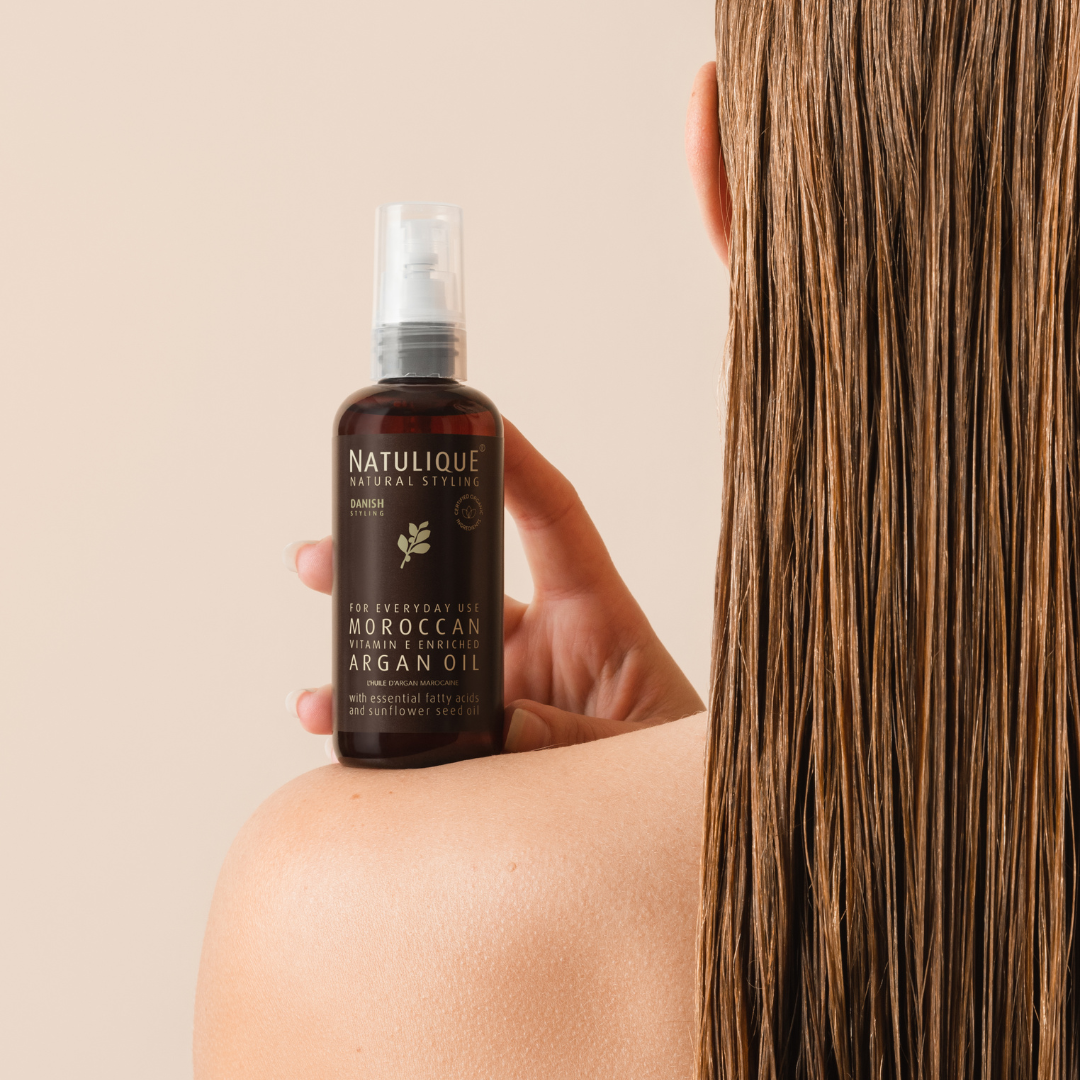
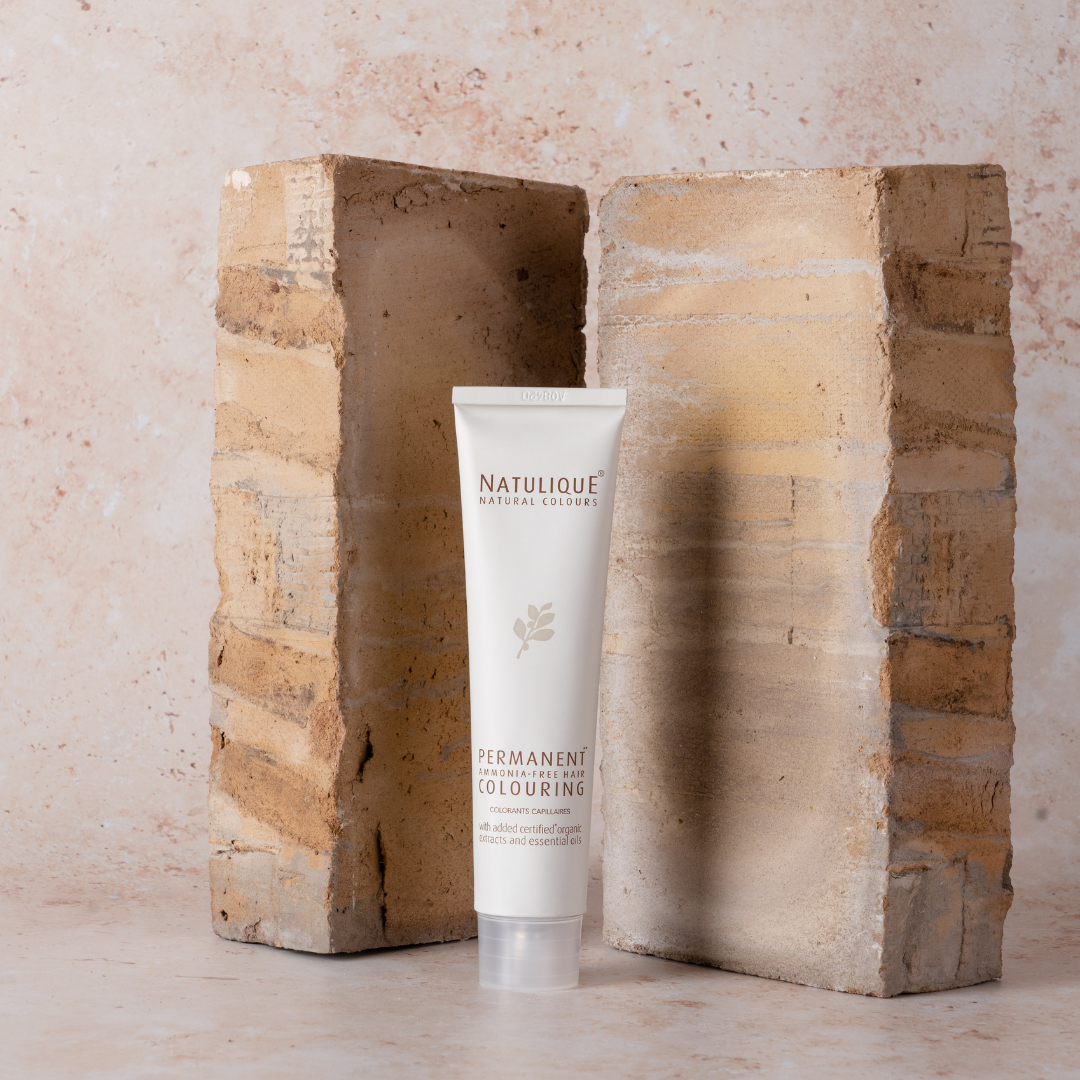
During the training, we mentioned the Natulique brand. You can use Natulique hair dyes on guests with scalp problems who undergo oxygen therapy. It’s important to wait for 2 weeks between oxygen therapy and hair dyeing; in this case, the schedule is 1 therapy and 1 dyeing session per month.
It’s advisable to use Natulique styling products on guests undergoing oxygen therapy. Natulique products contain the lowest possible chemical content.
We can offer discounts on Natulique products to all our Oxygeni Hair partners. If you’re interested, read more about it and contact us by phone or email so we can register you on the Natulique website as a partner.

info@oxygenihair.com
shop.oxygenihair.com
+36 70 366 0277